Sample Analysis
The sample analysis step is used to analyze the samples, invalidate aberrant data, and add annotations.
Sample Analysis Settings
On the settings page, you will define one or multiple aggregations and link multiple analyses (calculations) to analyze your samples.
Info
The Sample Analysis settings page is similar to the Reference Analysis settings page. You can refer to the Reference Analysis documentation for more details on how to create aggregations and analyses.
Sample Analysis
Add Calculation and Data
Once the calculations are done, you will be redirected to the sample analysis page.
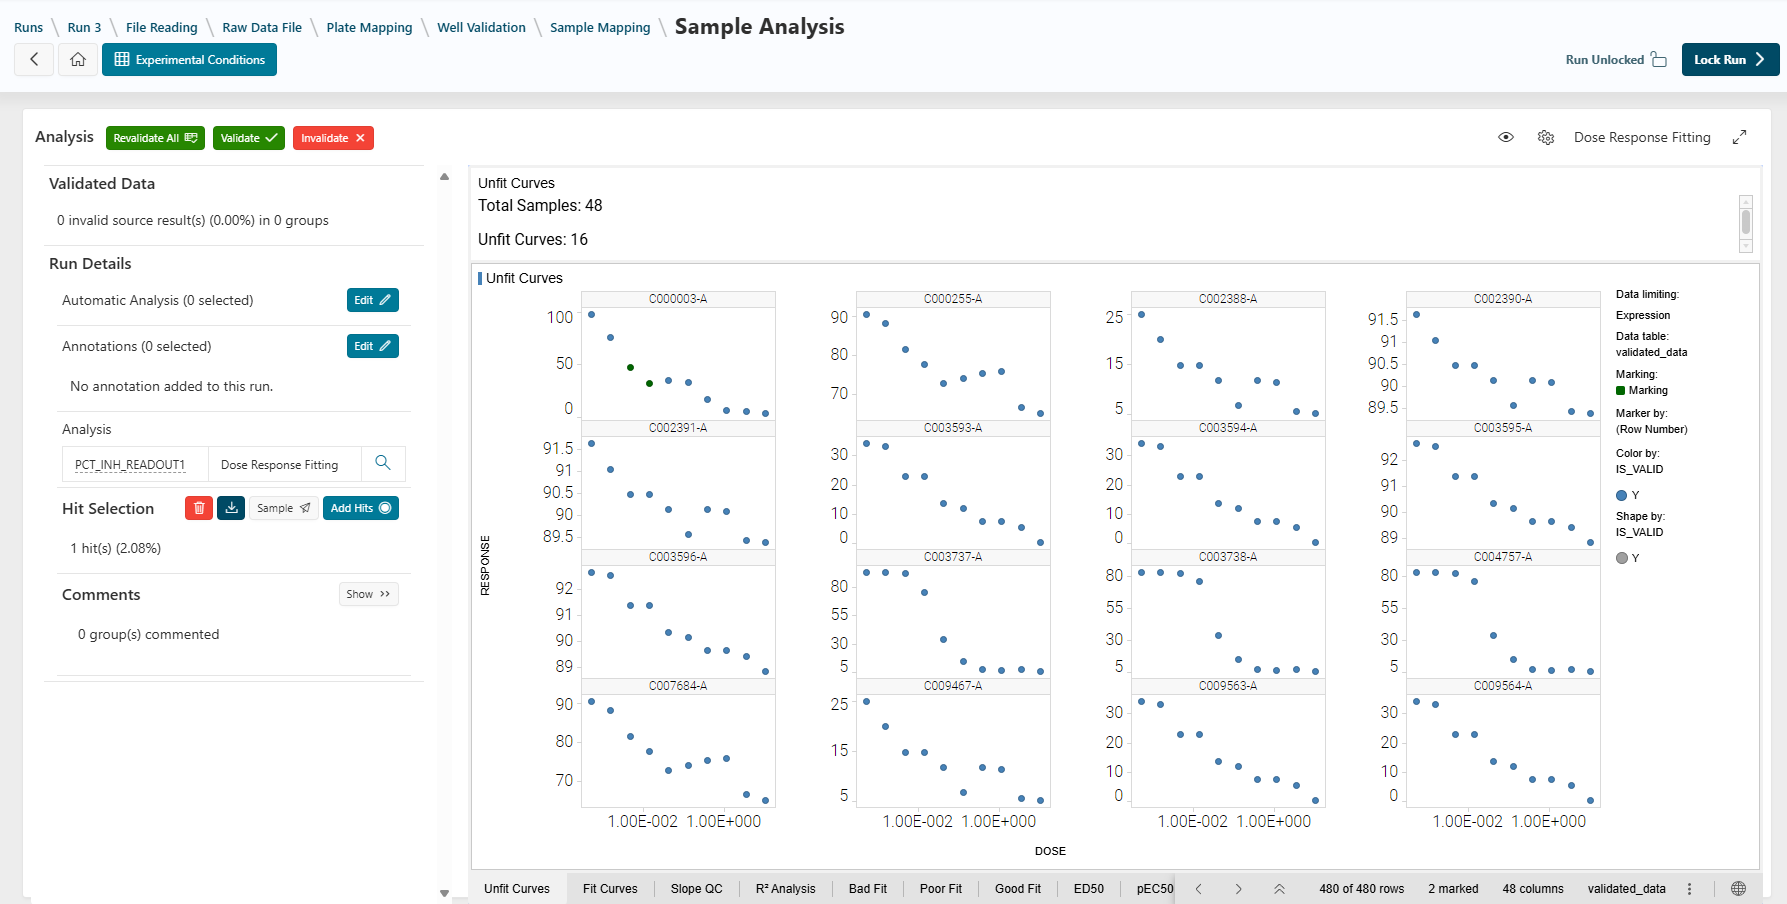
On this page, you can perform several actions:
- Add automatic analysis to your run (e.g., automatic invalidations or automatic hit selection). See the Well Validation documentation for details.
- Add an annotation to your run (to let screeners manually add information linked to the data). See the Well Validation documentation for details.
- Edit experimental conditions if necessary (see the Experimental Conditions documentation).
Create Visualization Templates
As a designer, you can create and update Spotfire templates to be used in design runs and in execution mode.
- Create and update a Spotfire template (see the Administration documentation).
You can also switch between templates and use fullscreen mode (see the How To documentation).
Update Analysis for an Aggregated Group
In this step, the parameters used to calculate data can be manually updated for one or more aggregated groups.
Follow the instructions in the How To documentation to learn how to do this.
Validate or Invalidate a Data Point
When analyzing the data, manual data invalidation can be performed. To do so, select the data and click the Invalidate button in the top bar. The analysis will be recalculated (for example, IC50).
To learn more, see the How To documentation.
Add Annotation Values and Comments
You can add, edit, or delete annotation values or comments using the left panel. Follow the instructions in the How To documentation for details.
Hit Selection
In this step, you can select potential candidates as hits using the left panel.
This selection can be automatic (if an automatic analysis has been added) or done manually. The list can be sent to the Sample application or downloaded.
To learn more about manual hit selection and export, see the How To documentation.
Next Step
Next
 When the analysis part is finished, click
 Lock Run to lock your run. The data will no longer be updatable.
The next step is the last one: Publishing or closing the run. This publication or closing can only be done by an Assay Publisher.