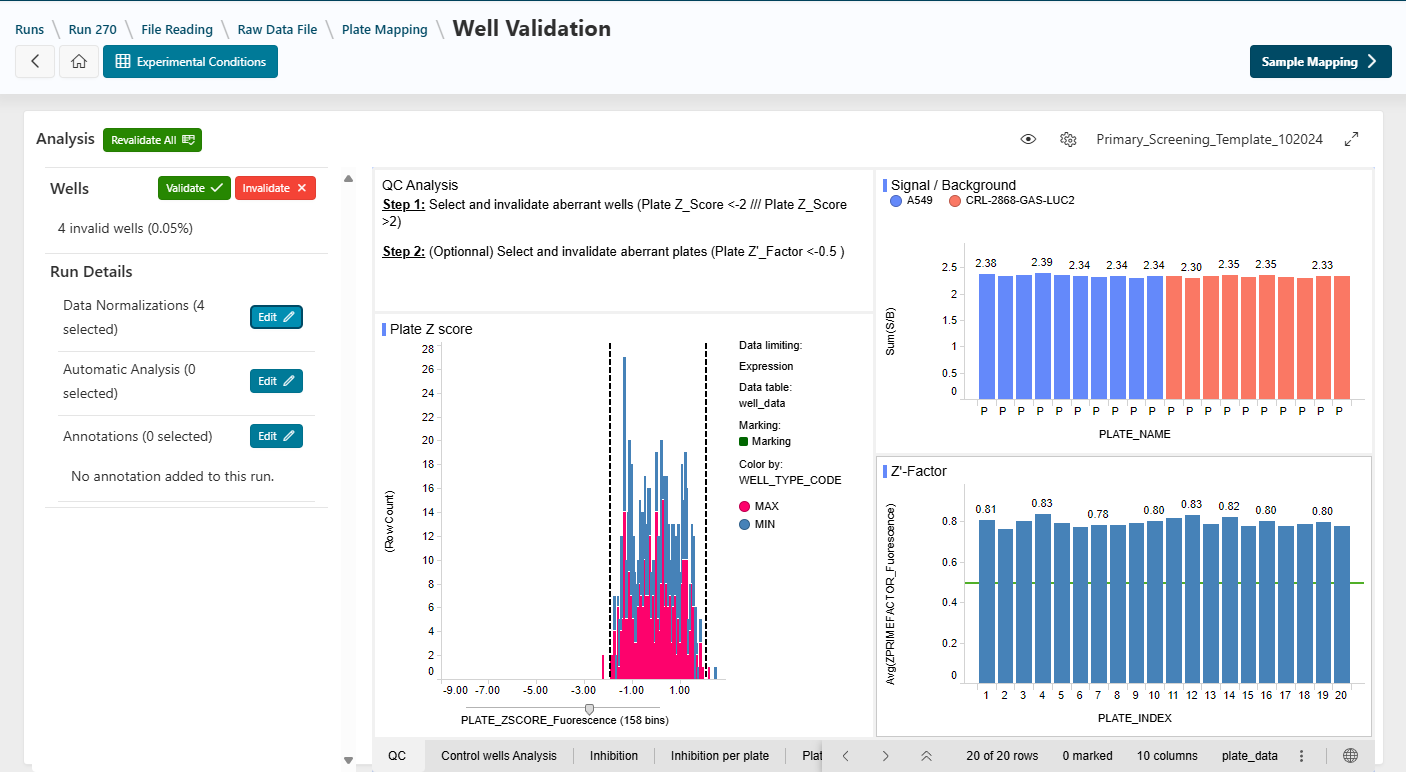
Well Validation
This step allows you to visualize raw data and apply normalizations to perform a quality check of the analysis. Screeners can detect and exclude invalid wells, and add annotations to their analysis (see the Screener documentation).
Info
Spotfire is primarily used as a visualization tool in the application. When accessing this page, you may be prompted to log in to Spotfire. Click Log In and use the corporate button for automatic login. You should not be prompted again.
Data Normalizations
List of Normalizations
A normalization is a mathematical operation applied to the data, allowing you to standardize results.
- Normalization can be performed on plates or wells, using well types defined in the plate layout.
- Normalization can be calculated on readouts or on data produced by another normalization.
Info
Assay includes many built-in normalizations. If a normalization is missing, see the Administration documentation on normalizations.
- Click the
Editbutton in the Data Normalizations region of the Well Validation page to access the list of available normalizations.
Info
Normalizations are managed in Assay Administration. You can hide unwanted normalizations in the administration page.
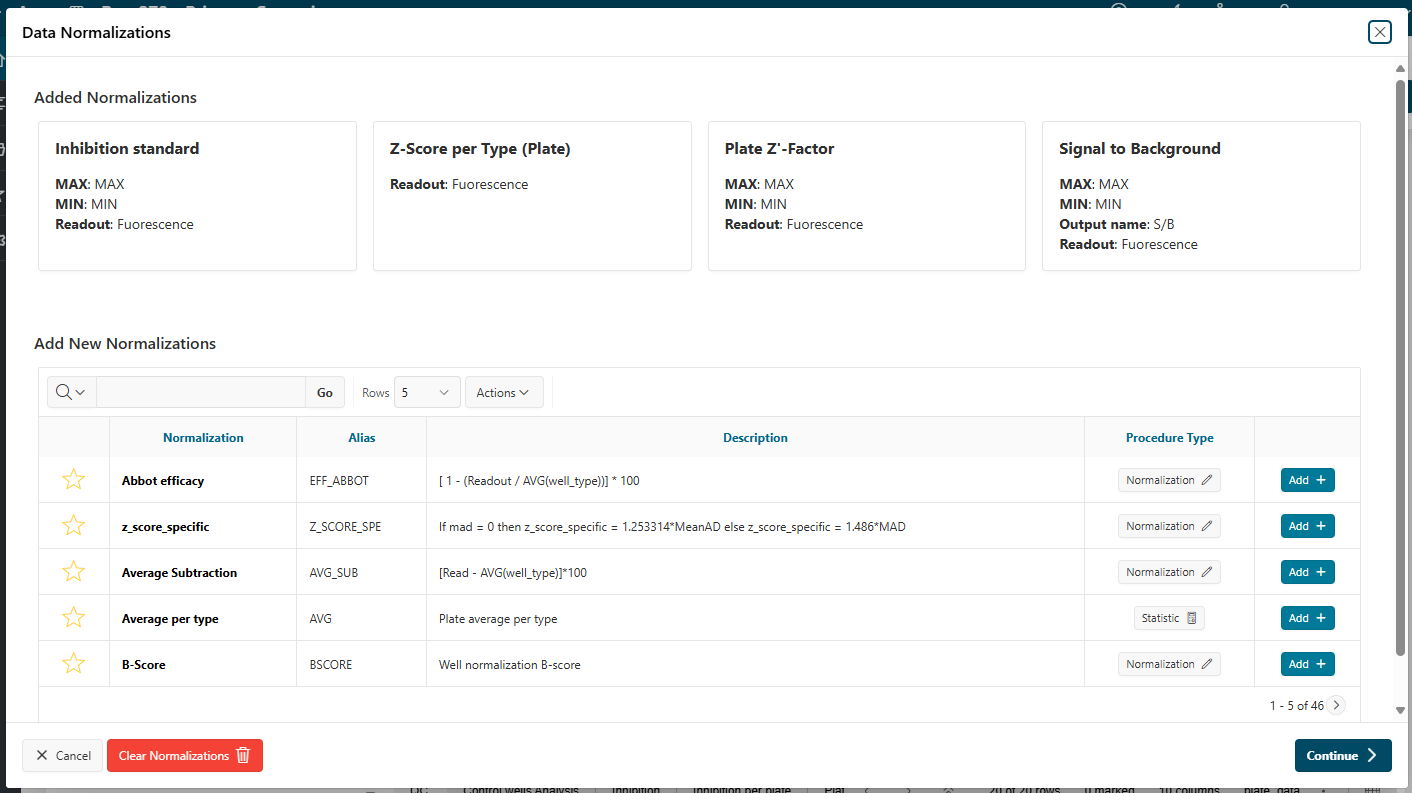
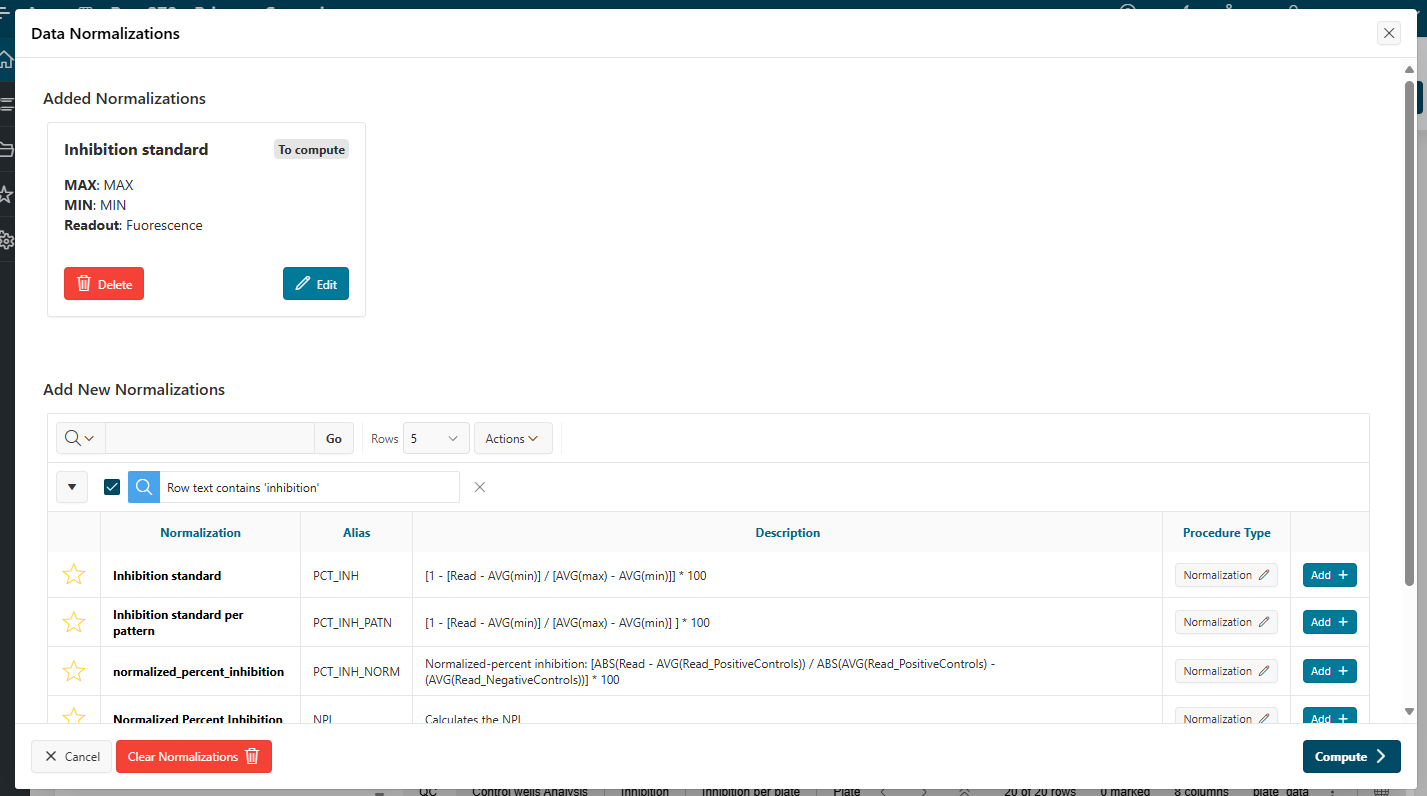
Add a Normalization
You can filter normalizations using the search bar and add a normalization as a favorite.
- To add a normalization to your data, click
Addon the desired row.
-
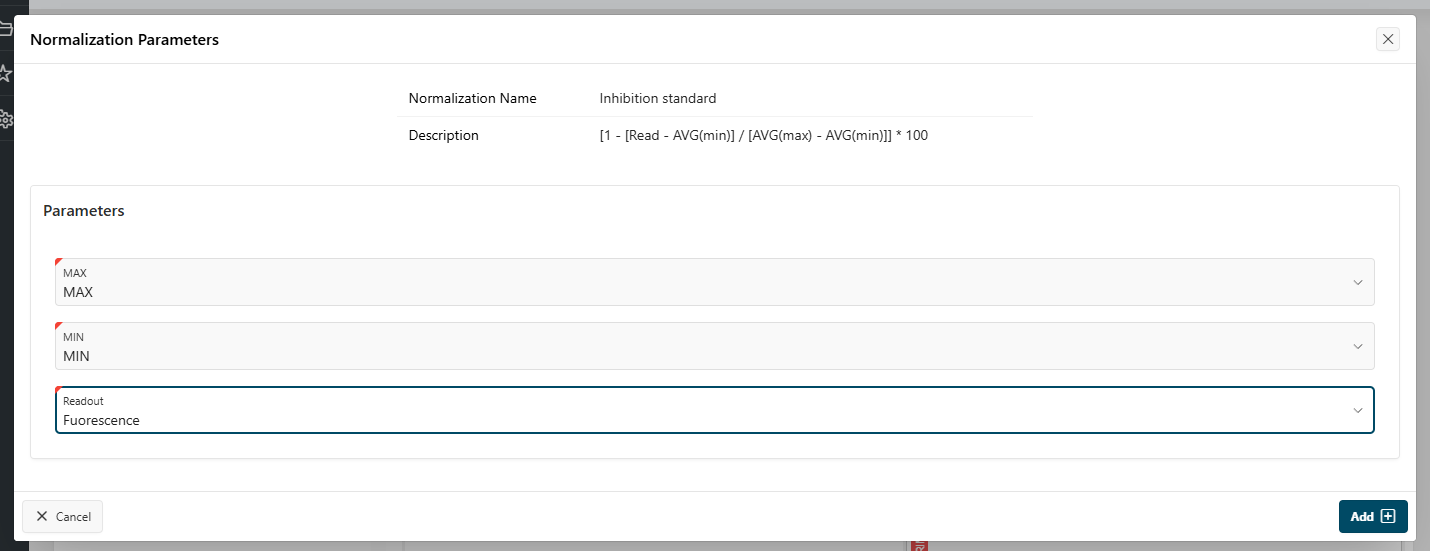
On the new page, set the required parameters. These may include:
- A well type (from the plate layout)
- A readout (output of a reader or normalization)
- A number (factor, value, percentage, etc.)
- A boolean (option)
- Text (e.g., output name)
-
Once the parameters are set, click
Continue. - Click
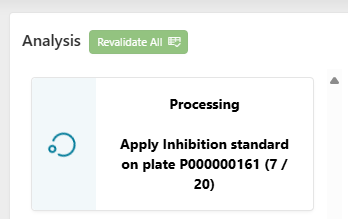
Computeto start the calculation. - The normalization will be processed in the background. You can view the progress in the left panel.
- Once the normalization is finished, it will be displayed as a new column in the table within the visualization tool.
Info
You can add more than one normalization at a time. Add all your normalizations, then click Compute to process them all at once.
Edit and Delete Normalizations
Before computation, if you made a mistake in the parameters of a normalization, you can edit it by clicking the pencil icon next to the normalization name.
You can also delete a normalization before computation by clicking the trash icon.
To delete all normalizations, click Clear Normalization.
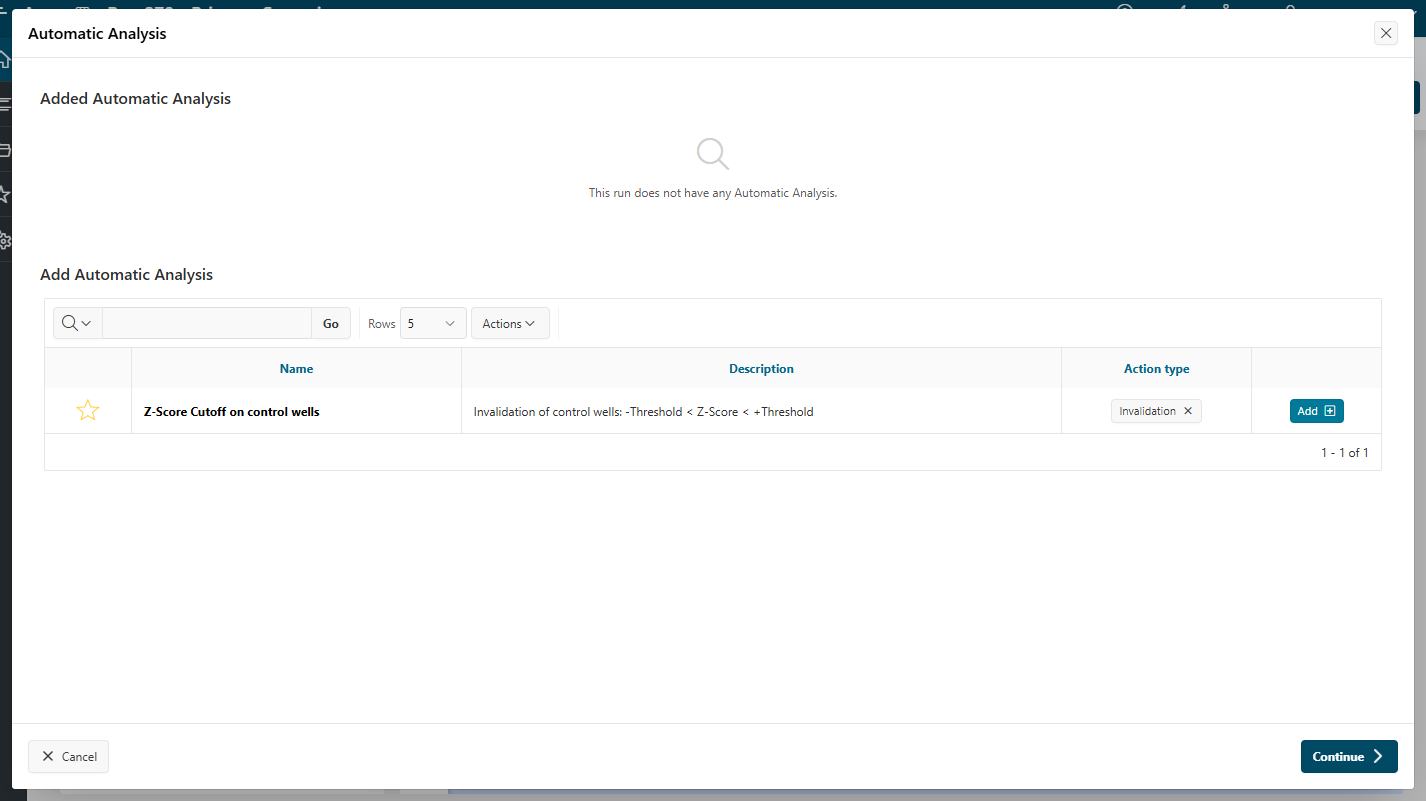
Automatic Analysis
An automatic analysis will automatically invalidate wells based on predefined rules.
- Using the same process as for normalizations, you can add, edit, and clear automatic analyses for your run.
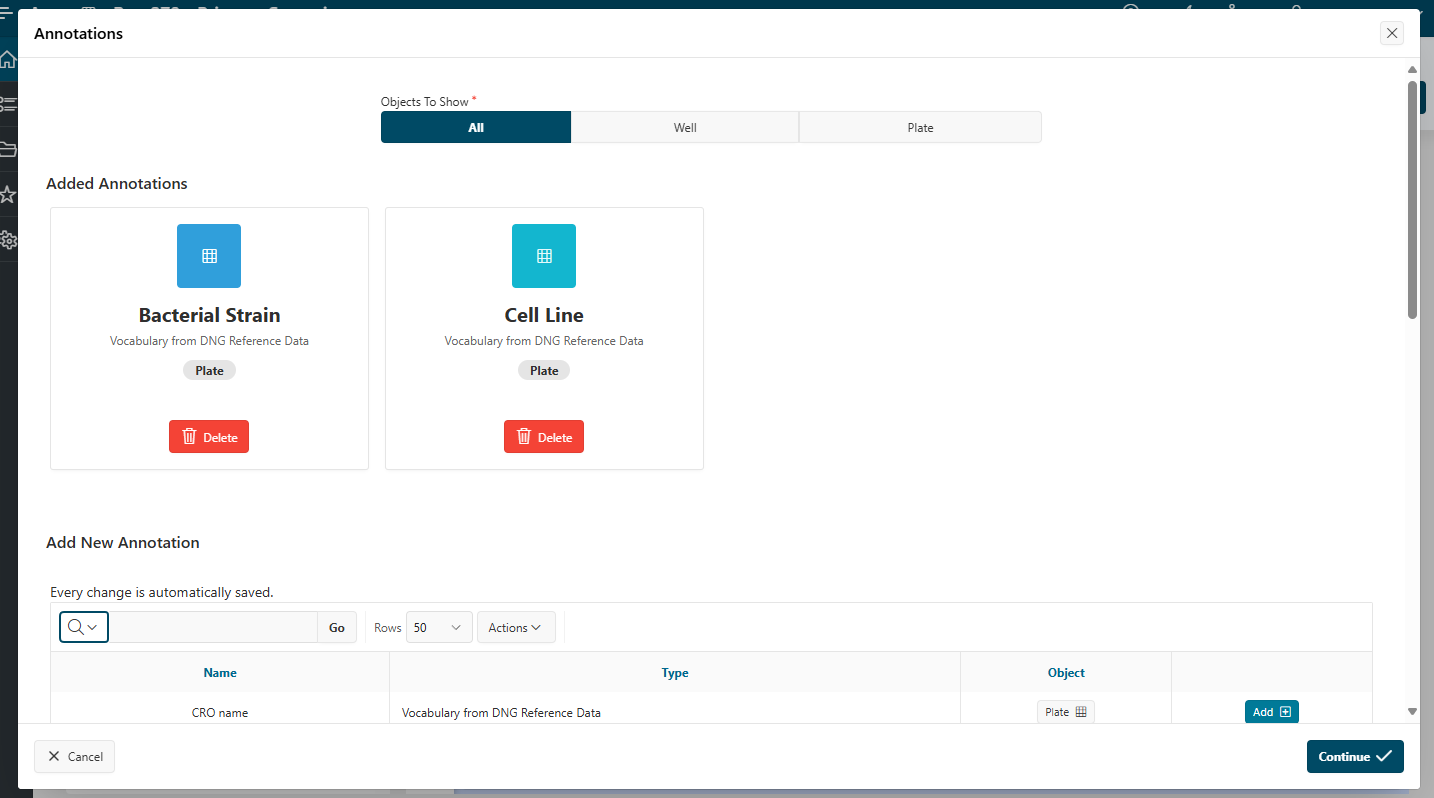
Annotations
Annotations allow users to manually add data to plates or wells. By selecting a well or plate, annotations are displayed in the left panel. Users can add, edit, or delete annotation values. For more details, see the Execution Mode documentation on well validation.
Annotation types include:
- Text (e.g., comments)
- Number (e.g., value, percentage)
- Controlled vocabulary (a value chosen from a list, such as phenotype, boolean (Yes/No), or confidence level (High/Medium/Low))
Add an Annotation to Assay
First, annotations must be added in the Assay Administration.
Once created, an annotation can be added to the run.
Add an Annotation Type to Your Run
- Click the
Editbutton in the annotations region. - Browse the list of available annotation types and click
Addto include it in your run. - Click
Continueto add the annotation type to your run.
Add Annotation Values
You can add, edit, or delete annotation values using the left panel. Follow the instructions in the How To documentation on adding annotation values or comments for details.
Visualization Templates
As a designer, you can create and update Spotfire templates to be used in design runs and in execution mode.
See the Administration documentation on creating Spotfire templates to learn how to create a template using Spotfire Analyst.
You can also switch templates and use fullscreen mode (see the How To documentation on visualizing data and changing templates).
Info
While validating the step, the template you selected will be used as the default in execution mode.
Users will be able to switch between templates in execution mode.
Validation, Invalidation, and Revalidation
When analyzing data, you can invalidate wells as needed. To do so, select the well and click the Invalidate button in the top bar. The calculation will be recalculated.
To learn more about the invalidation process, see How to Validate or Invalidate Data.
Next Step
Next
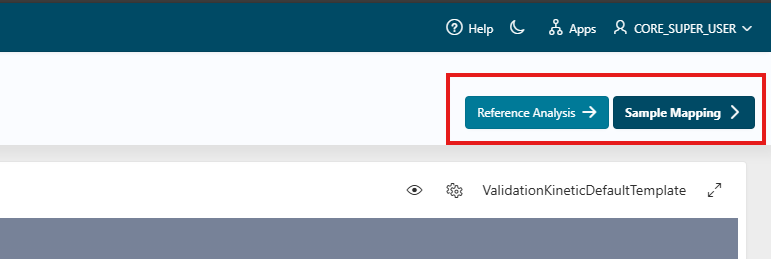
 Continue designing the run by proceeding to the next step: Reference Analysis.
If you do not have any reference wells, you will not be able to access the Reference Analysis page. You can go directly to the step Sample Mapping.